> ## Documentation Index
> Fetch the complete documentation index at: https://docs.isotopes.ai/llms.txt
> Use this file to discover all available pages before exploring further.
# Quickbooks Connector
Connecting QuickBooks to aidnn lets your team analyze live accounting data invoices, transactions, customers, vendors alongside the rest of your sources.
## 1. Add the QuickBooks connector in aidnn
### Open the Connectors page
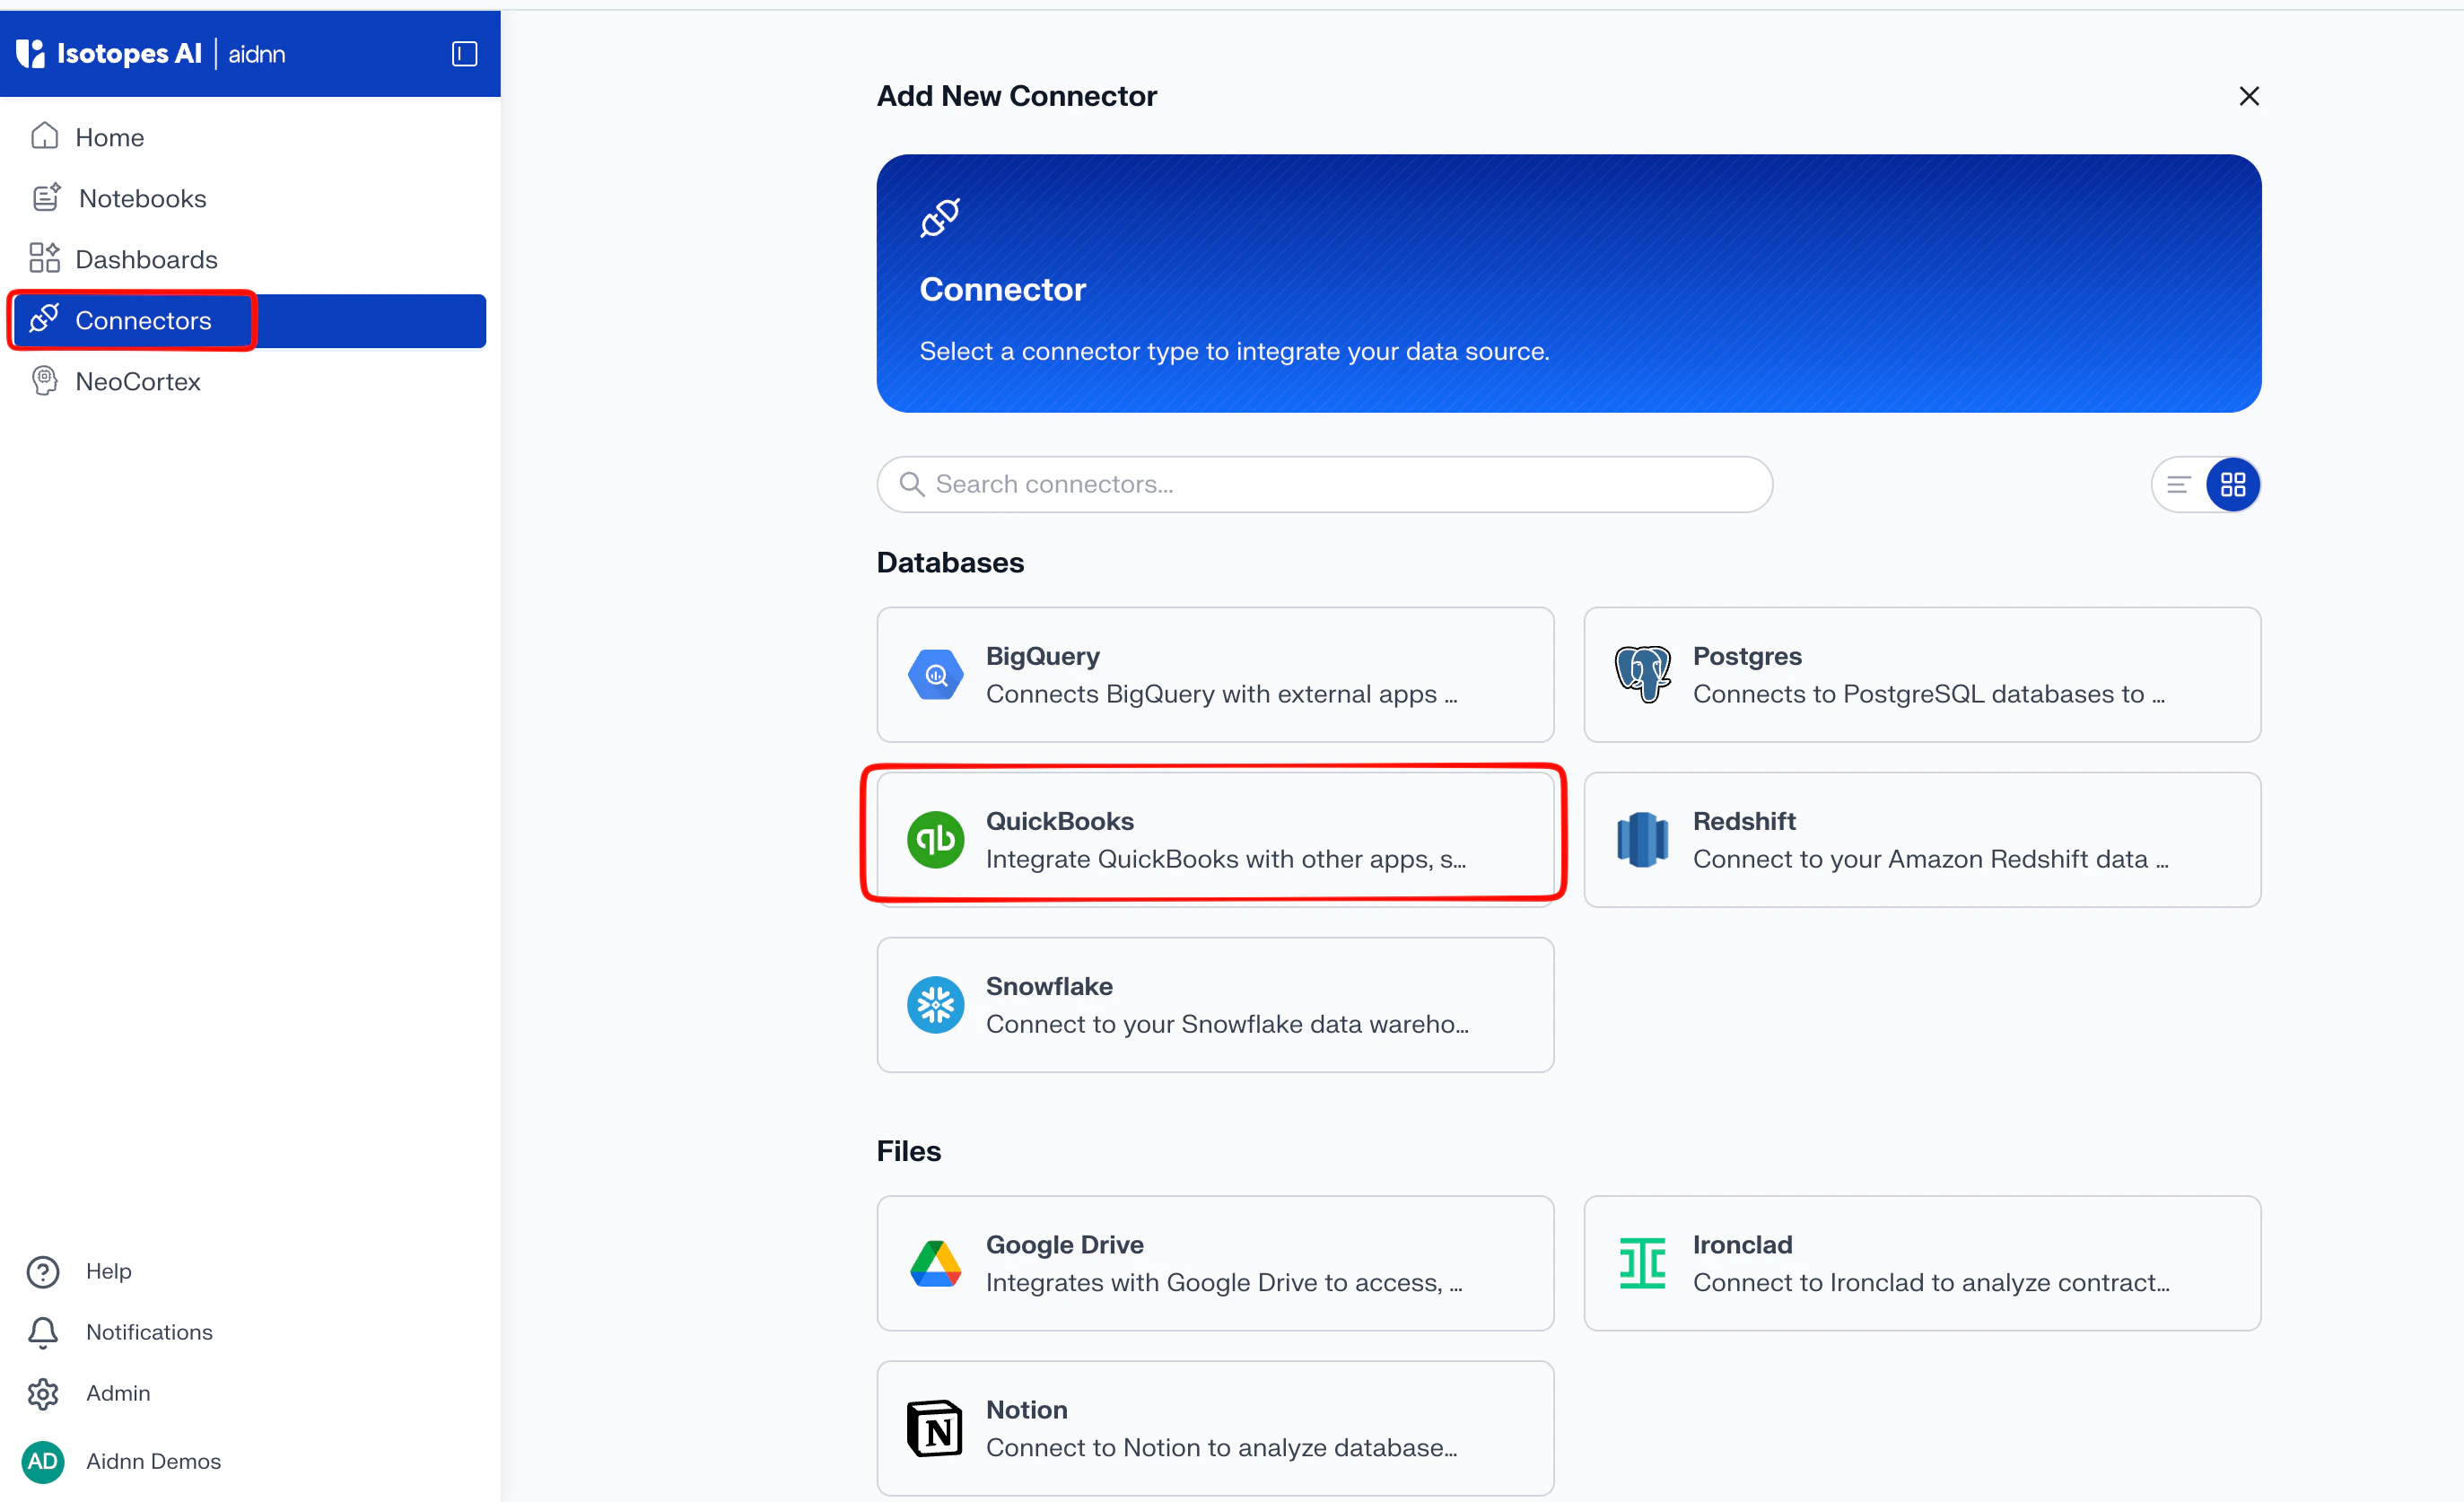
From the aidnn home screen, click **Connectors** in the left sidebar.
 ### Start a new connector
On the Connectors page, click **Add New Connector** in the top-right corner. You’ll be taken to a page that lists every available connector.
### Pick QuickBooks
Hover over **QuickBooks** in the list and click. This opens the Add New QuickBooks Service form.
### Name the service
Fill in the General Fields:
* **Name** - a clear name for the connector (for example, “QuickBooks – Production” so it’s obvious which instance it points at).
* **Description** - optional, but useful if you have several QuickBooks instances connected.
### Start a new connector
On the Connectors page, click **Add New Connector** in the top-right corner. You’ll be taken to a page that lists every available connector.
### Pick QuickBooks
Hover over **QuickBooks** in the list and click. This opens the Add New QuickBooks Service form.
### Name the service
Fill in the General Fields:
* **Name** - a clear name for the connector (for example, “QuickBooks – Production” so it’s obvious which instance it points at).
* **Description** - optional, but useful if you have several QuickBooks instances connected.
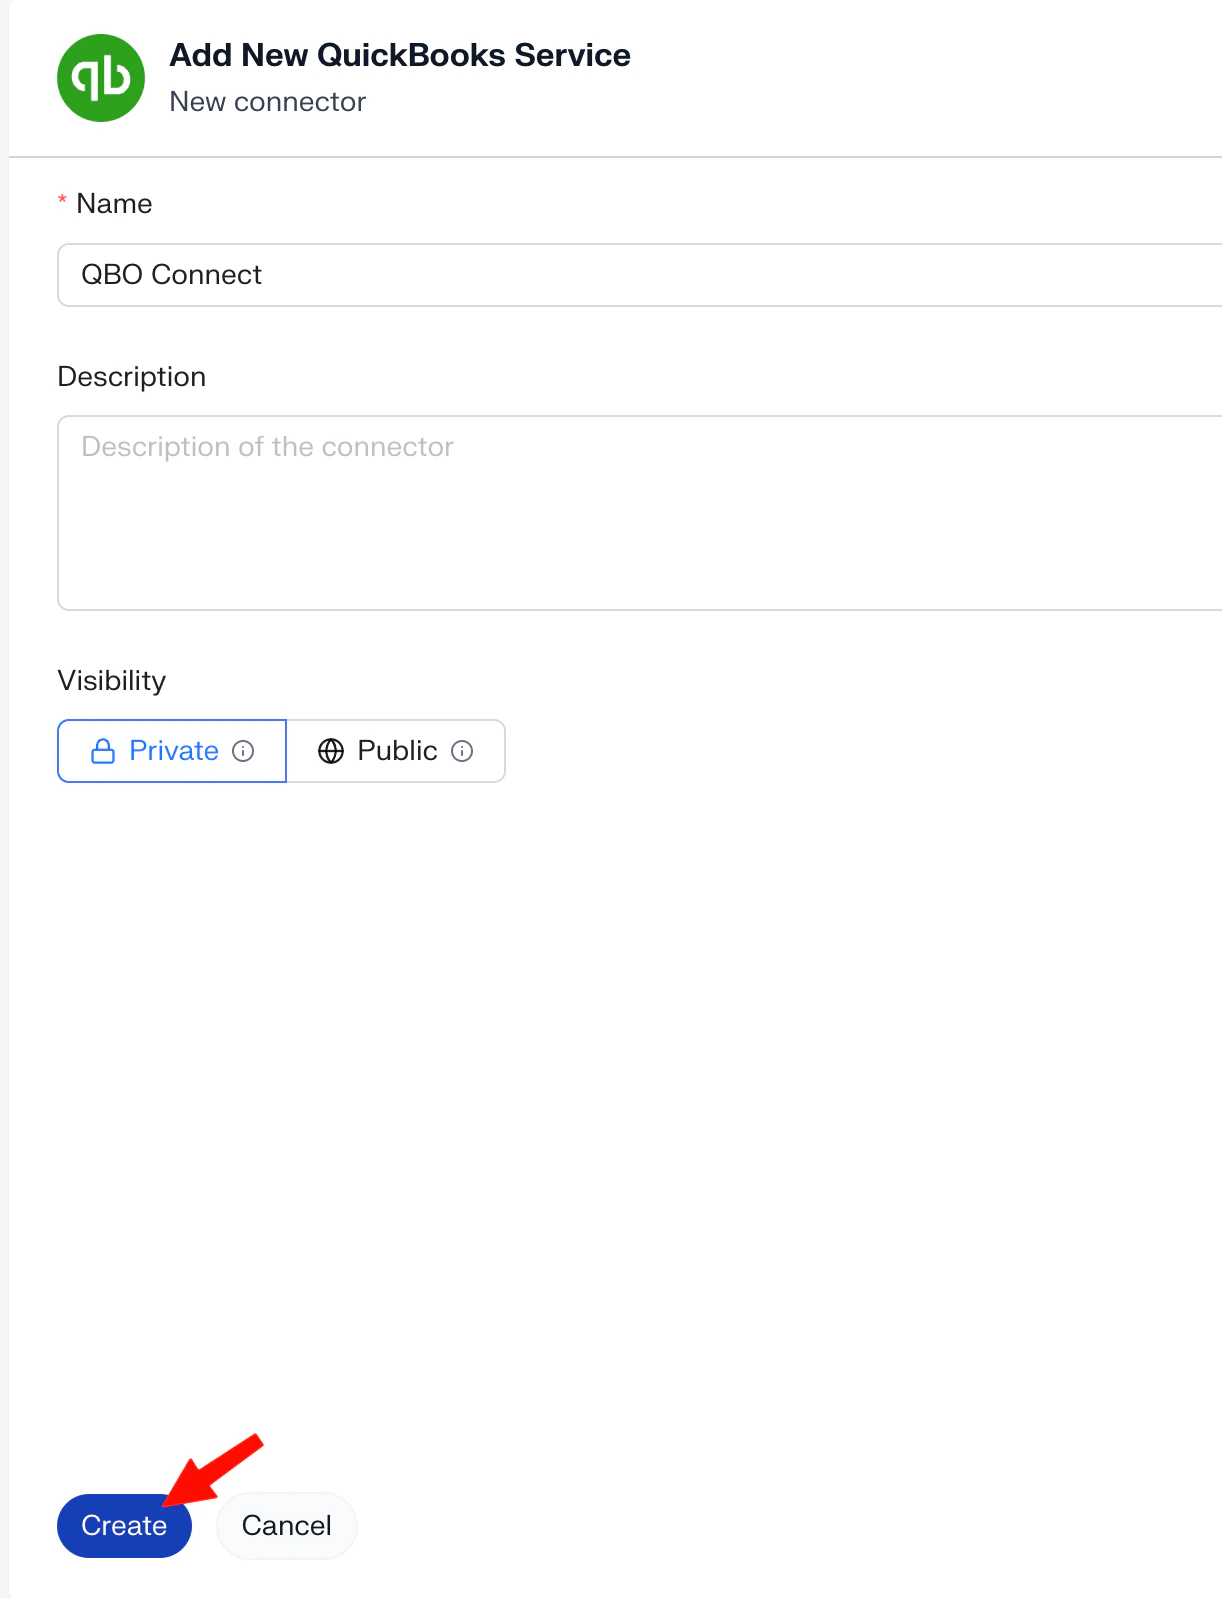 Click **Create** to submit the form, and you’ll land on the connector page.
## 2. Authenticate through Knit
On the connector configuration page, click **Authenticate** in the bottom-left to start off the OAuth flow.\
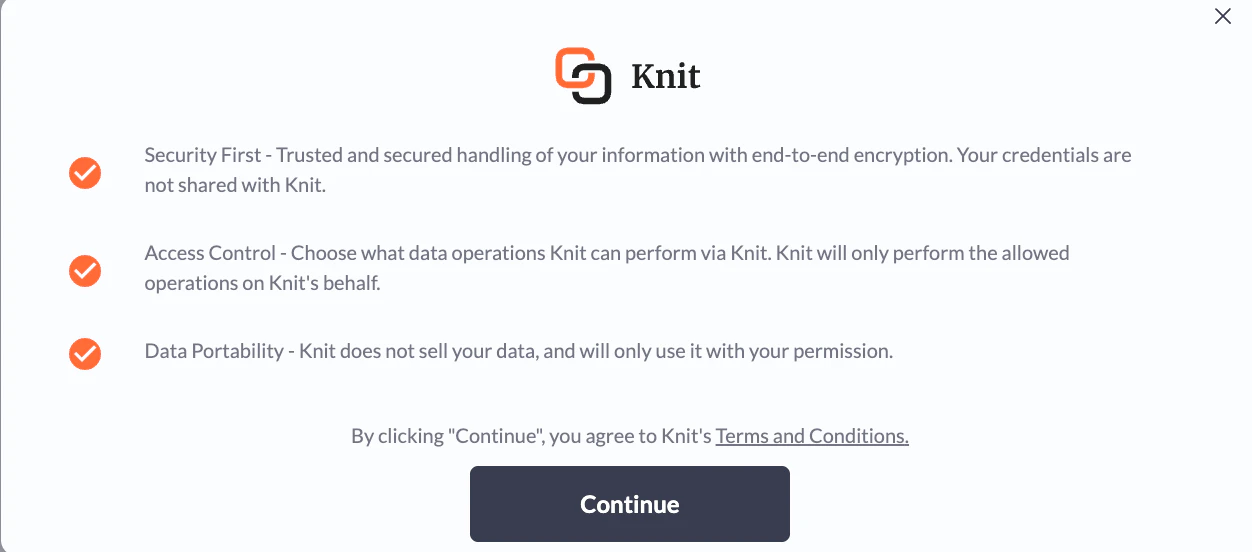
aidnn uses **Knit** as its MCP server provider for QuickBooks. Click **Continue** on the Knit screen to proceed.
Click **Create** to submit the form, and you’ll land on the connector page.
## 2. Authenticate through Knit
On the connector configuration page, click **Authenticate** in the bottom-left to start off the OAuth flow.\
aidnn uses **Knit** as its MCP server provider for QuickBooks. Click **Continue** on the Knit screen to proceed.
 ## 3. Pick the QuickBooks instance
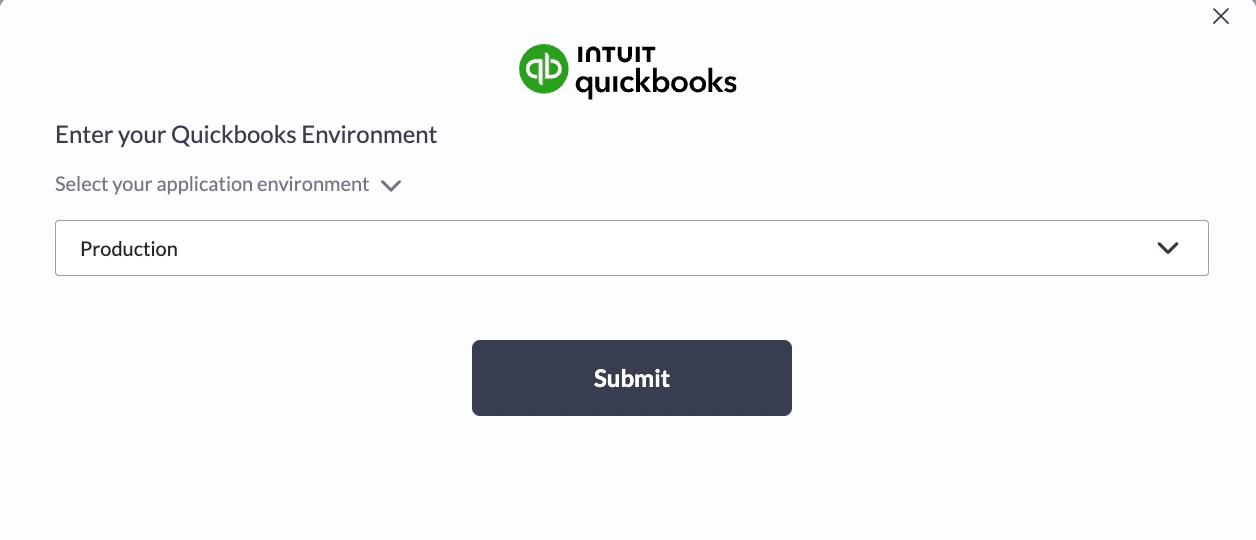
If you have multiple QuickBooks instances, Knit asks which one you want to connect to aidnn. Pick the right instance before continuing.
## 3. Pick the QuickBooks instance
If you have multiple QuickBooks instances, Knit asks which one you want to connect to aidnn. Pick the right instance before continuing.
 ## 4. Sign in with Intuit
Knit hands you off to Intuit’s standard authentication page for QuickBooks. Enter your credentials and follow the on-screen instructions the exact flow depends on how your QuickBooks login is set up. Once Intuit confirms the sign-in, you’re returned to aidnn.
## 5. Provide your QuickBooks Company ID
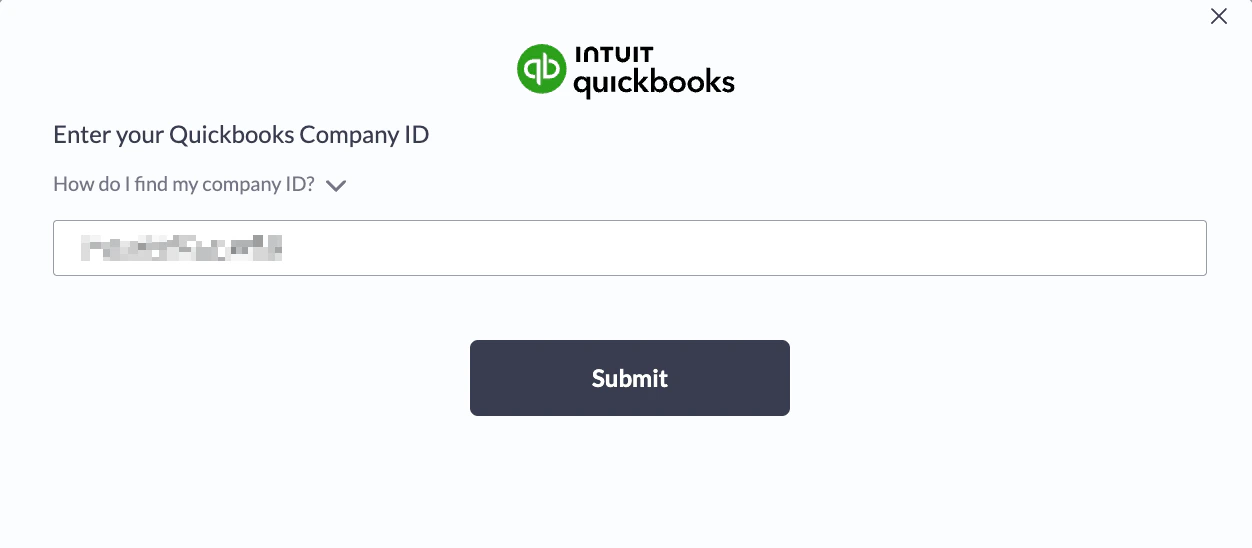
After authentication, aidnn asks for one final piece: your QuickBooks Company ID. Here’s how to find it.
### Step 1 - Open the gear menu in QuickBooks
Log in to your QuickBooks account in a separate tab. In the top-right corner, click the gear icon to open the settings menu.
### Step 2 - Open Additional Info
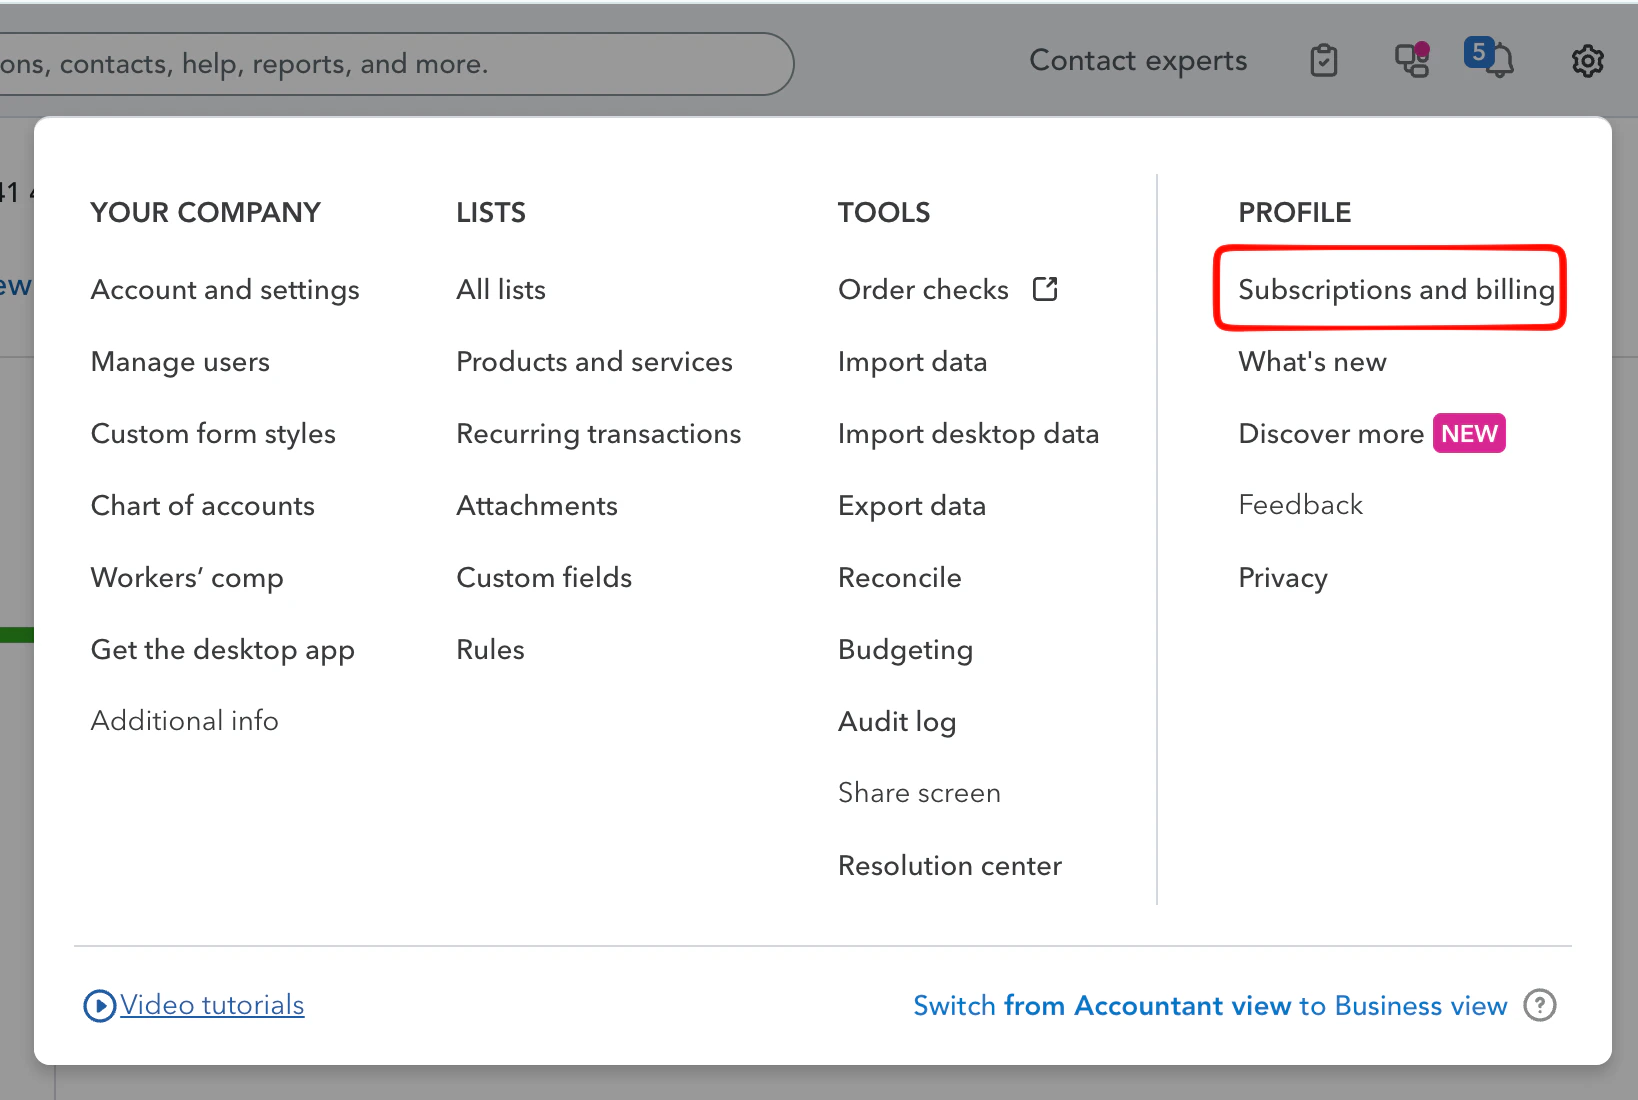
In the gear menu, click **Subscriptions and billing**.
## 4. Sign in with Intuit
Knit hands you off to Intuit’s standard authentication page for QuickBooks. Enter your credentials and follow the on-screen instructions the exact flow depends on how your QuickBooks login is set up. Once Intuit confirms the sign-in, you’re returned to aidnn.
## 5. Provide your QuickBooks Company ID
After authentication, aidnn asks for one final piece: your QuickBooks Company ID. Here’s how to find it.
### Step 1 - Open the gear menu in QuickBooks
Log in to your QuickBooks account in a separate tab. In the top-right corner, click the gear icon to open the settings menu.
### Step 2 - Open Additional Info
In the gear menu, click **Subscriptions and billing**.
 ### Step 3 - Copy the Company ID
A modal opens showing your account details, including the Company ID. Copy that value.
### Step 3 - Copy the Company ID
A modal opens showing your account details, including the Company ID. Copy that value.
 ### Step 4 - Paste it into aidnn
Switch back to the aidnn tab, paste the Company ID into the prompt and click **Submit**.
### Step 4 - Paste it into aidnn
Switch back to the aidnn tab, paste the Company ID into the prompt and click **Submit**.
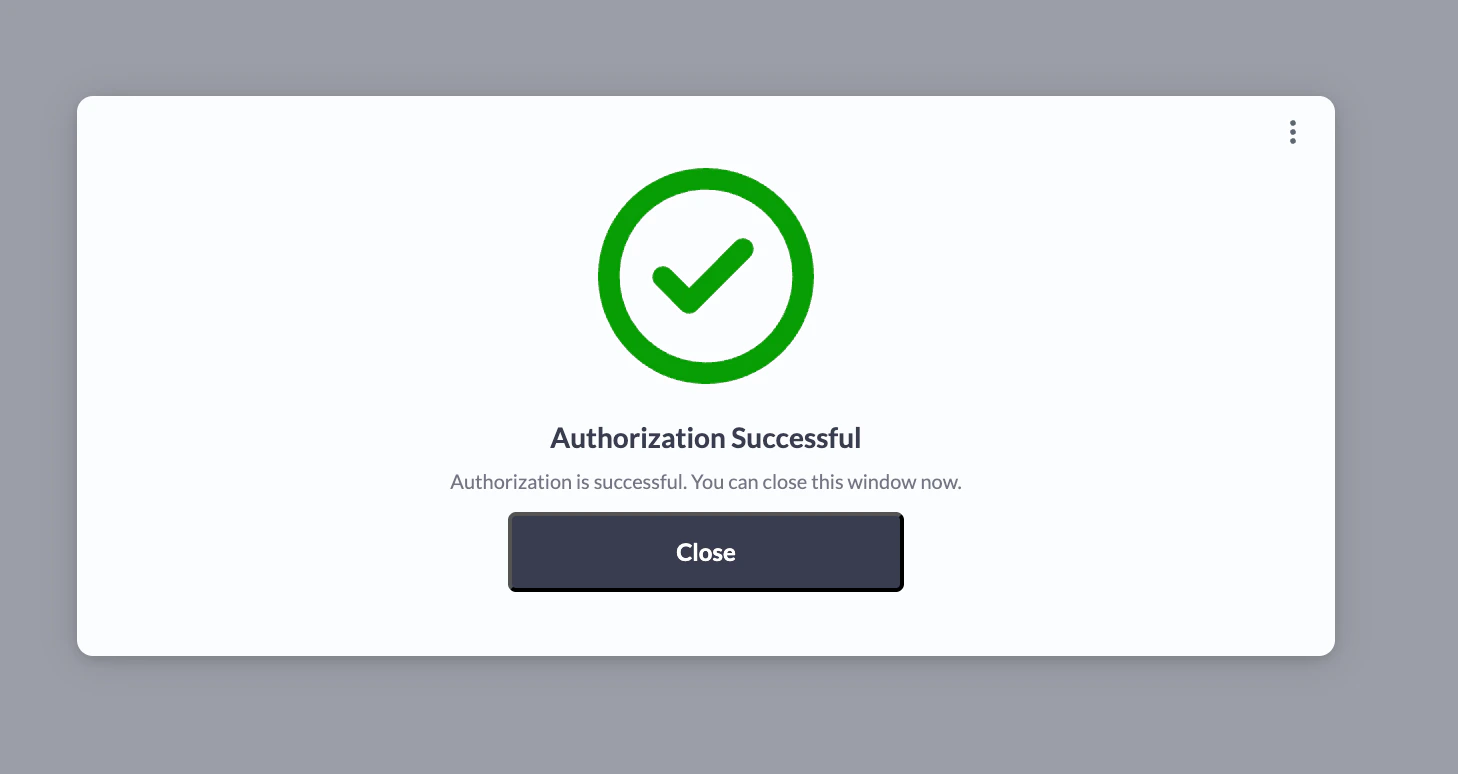 That completes the setup. Your QuickBooks connector now appears in your list of available connectors and is ready to use.