1. Add the QuickBooks connector in aidnn
Open the Connectors page
From the aidnn home screen, click Connectors in the left sidebar.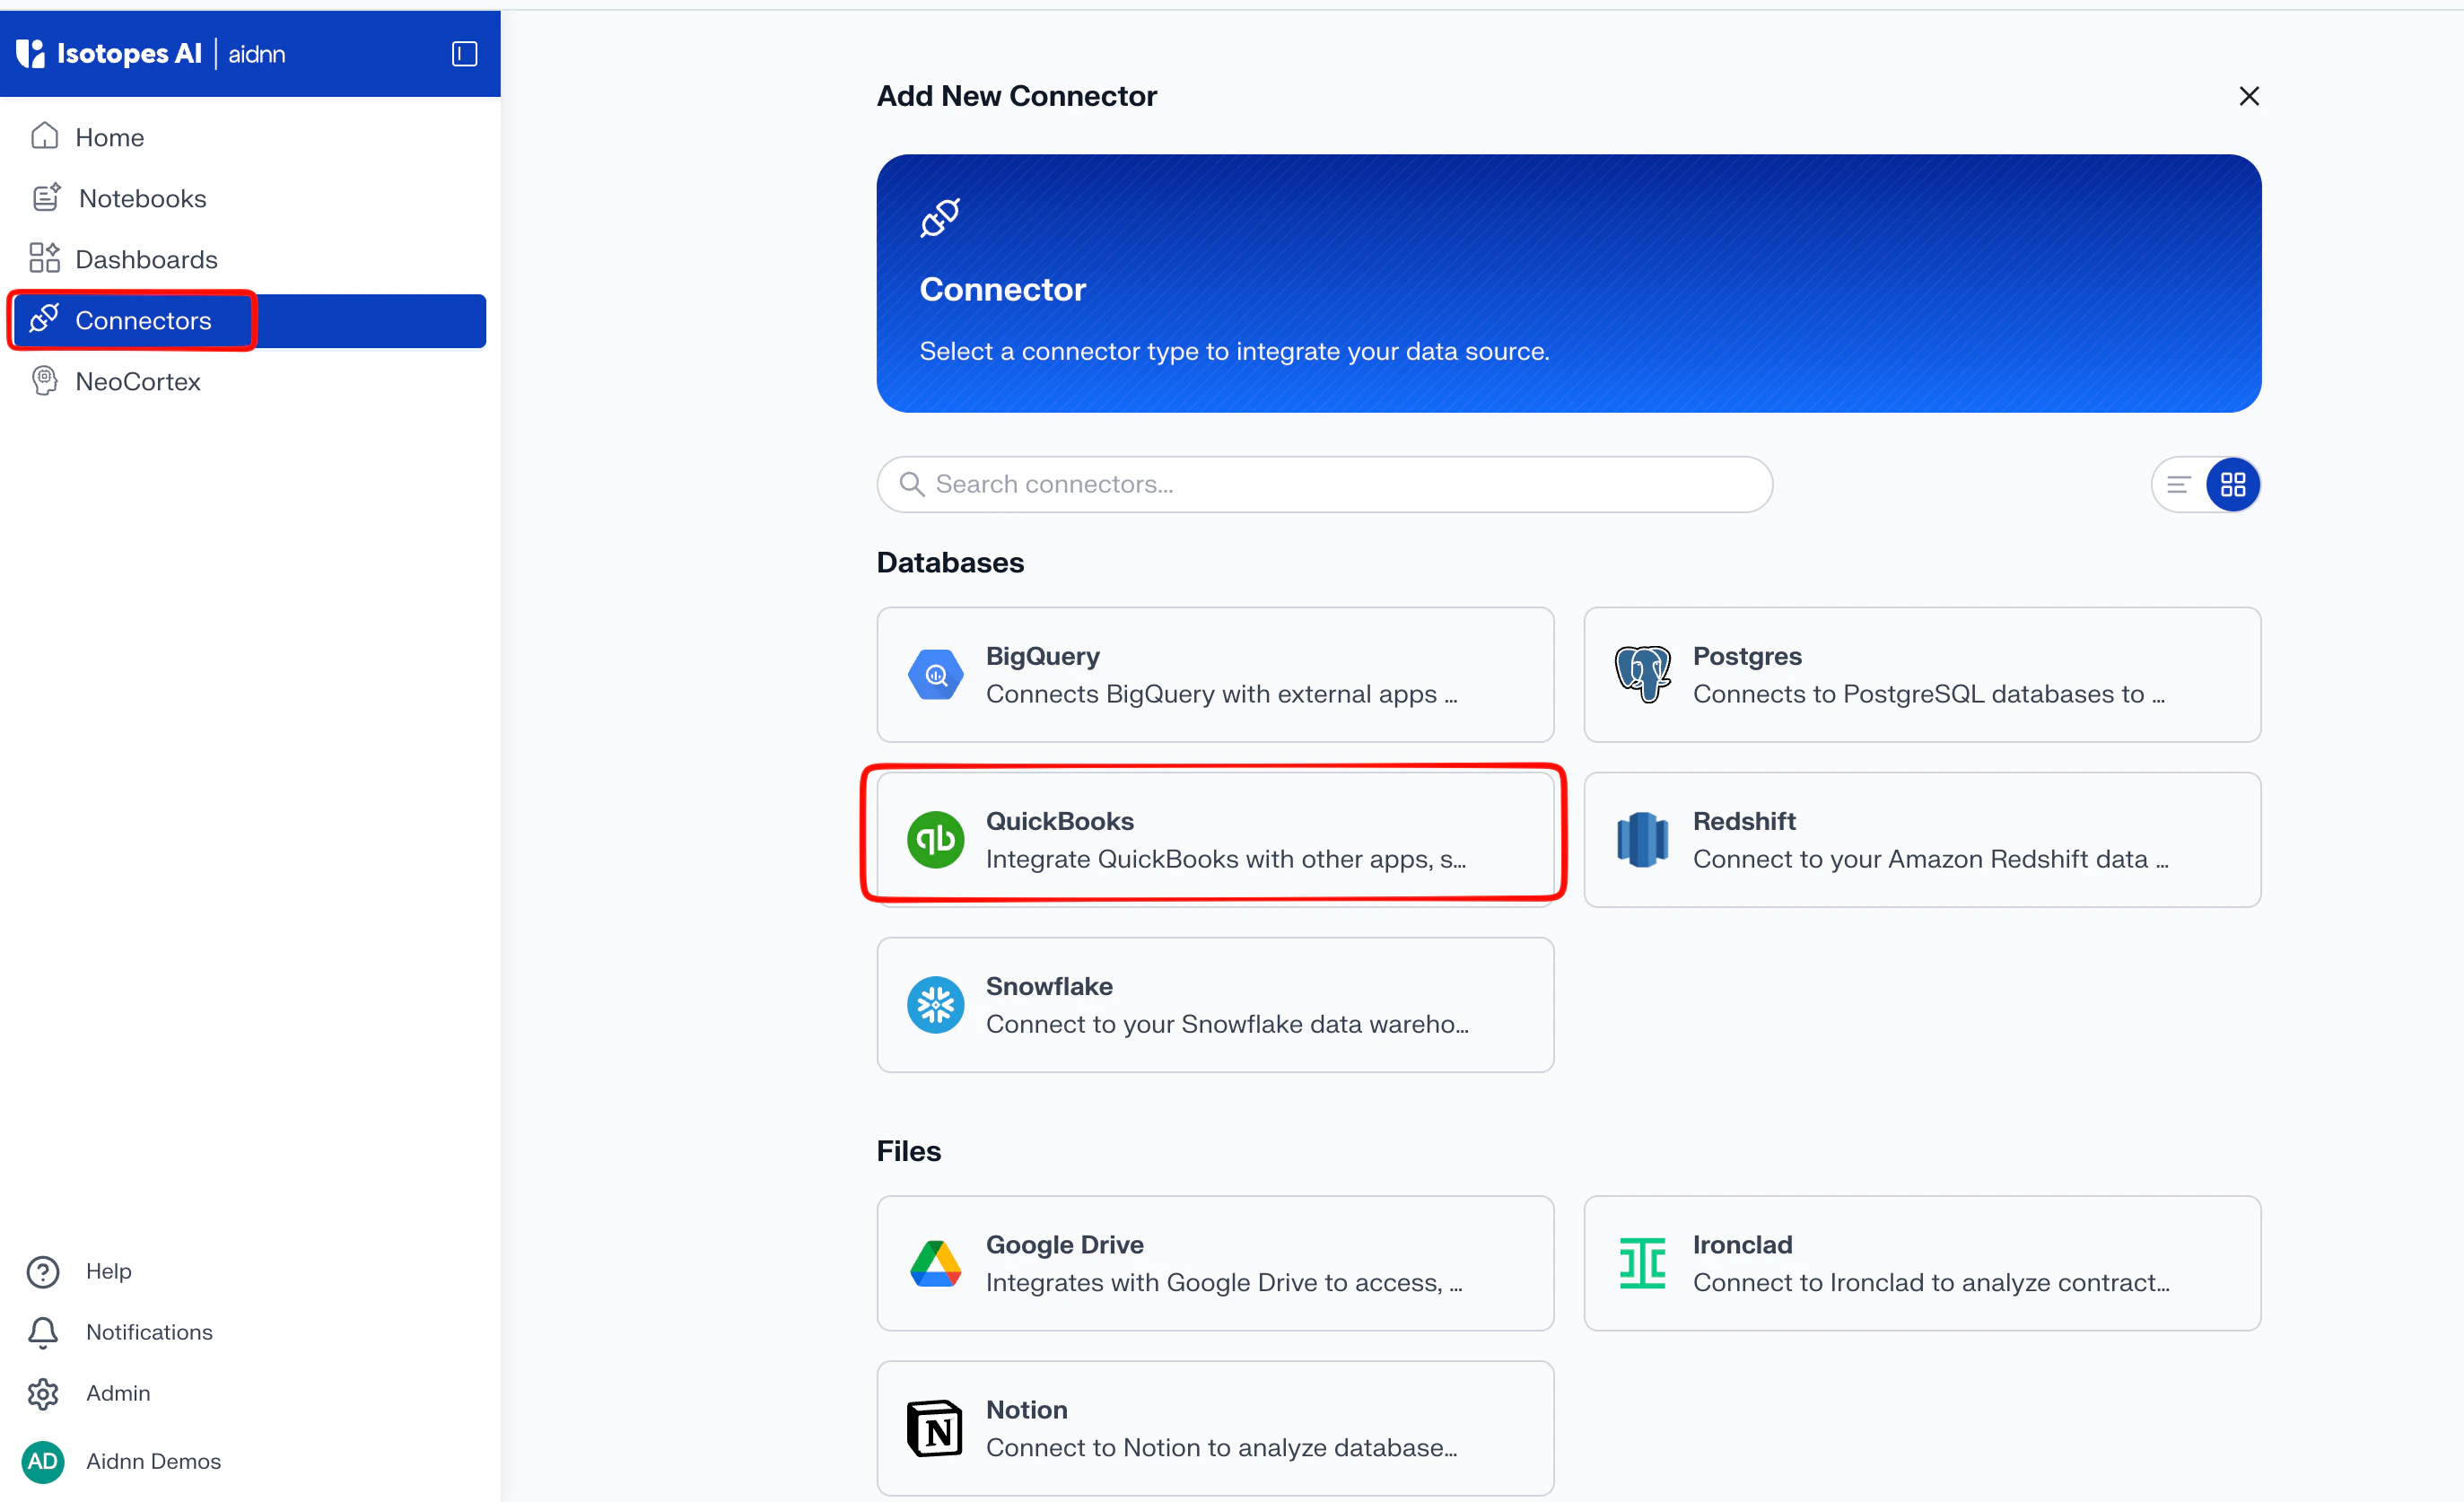
Start a new connector
On the Connectors page, click Add New Connector in the top-right corner. You’ll be taken to a page that lists every available connector.Pick QuickBooks
Hover over QuickBooks in the list and click. This opens the Add New QuickBooks Service form.Name the service
Fill in the General Fields:- Name - a clear name for the connector (for example, “QuickBooks – Production” so it’s obvious which instance it points at).
- Description - optional, but useful if you have several QuickBooks instances connected.

2. Authenticate through Knit
On the connector configuration page, click Authenticate in the bottom-left to start off the OAuth flow.aidnn uses Knit as its MCP server provider for QuickBooks. Click Continue on the Knit screen to proceed.

3. Pick the QuickBooks instance
If you have multiple QuickBooks instances, Knit asks which one you want to connect to aidnn. Pick the right instance before continuing.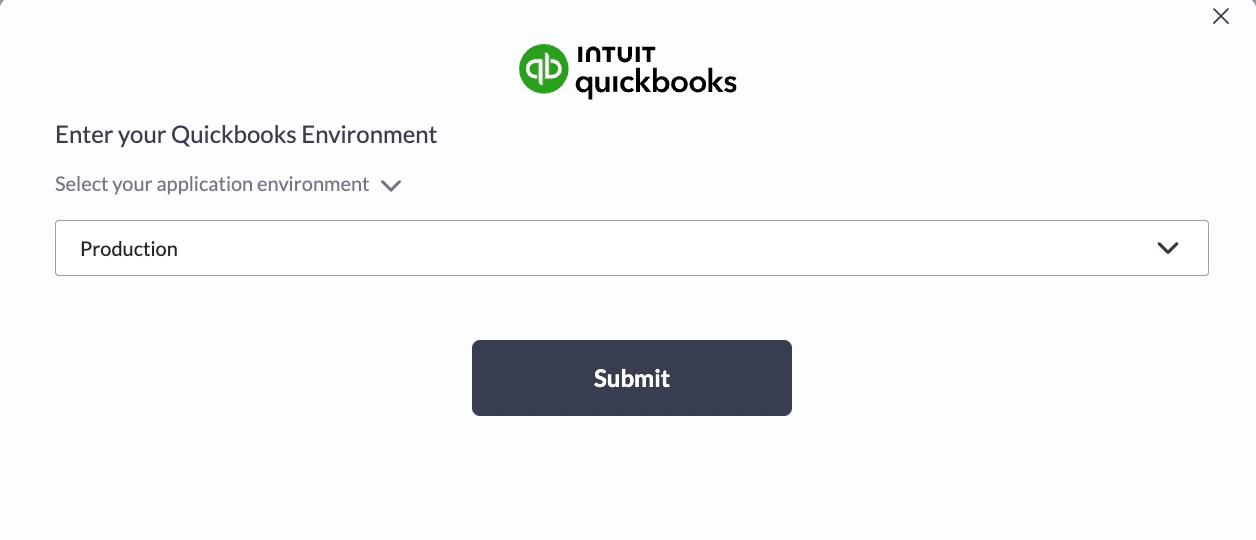
4. Sign in with Intuit
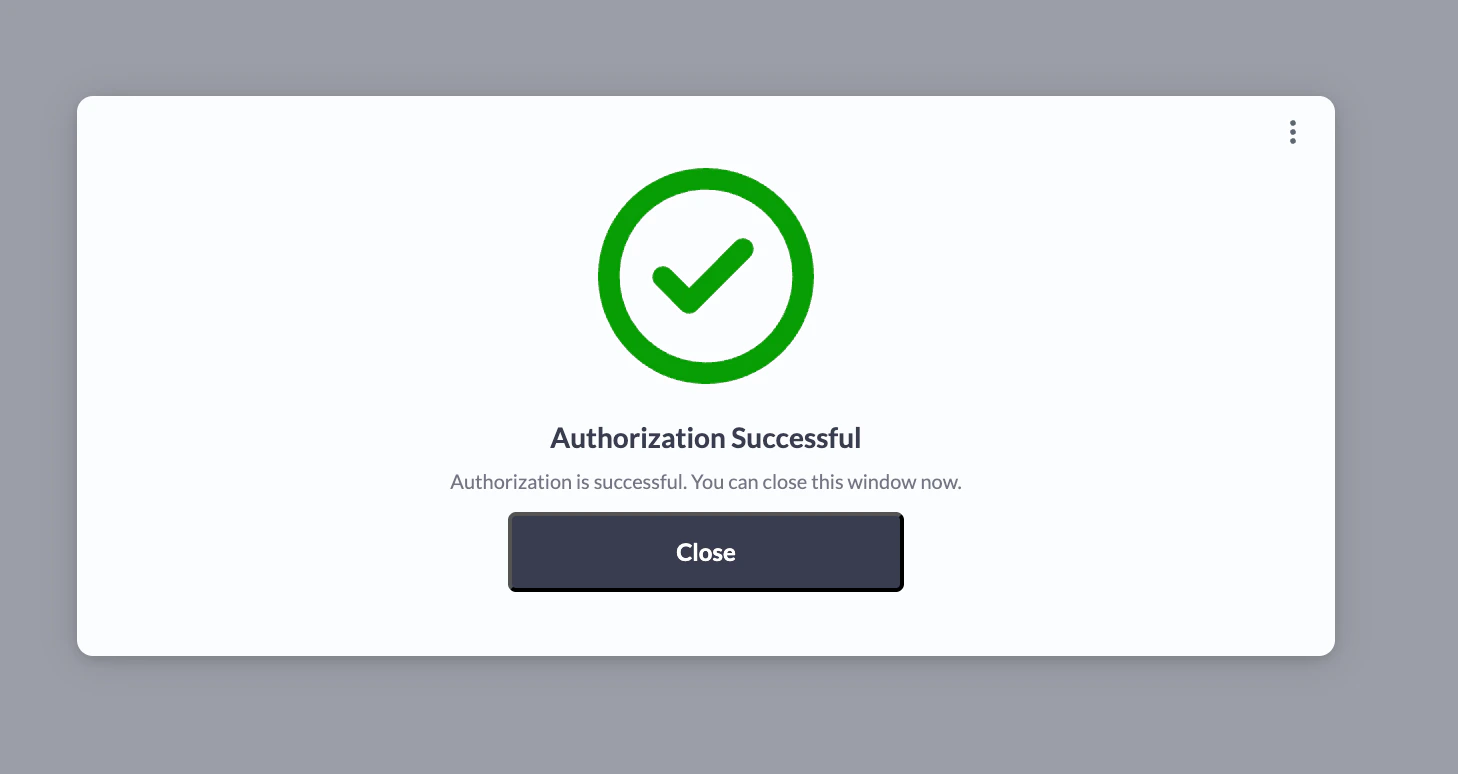
Knit hands you off to Intuit’s standard authentication page for QuickBooks. Enter your credentials and follow the on-screen instructions the exact flow depends on how your QuickBooks login is set up. Once Intuit confirms the sign-in, you’re returned to aidnn.5. Provide your QuickBooks Company ID
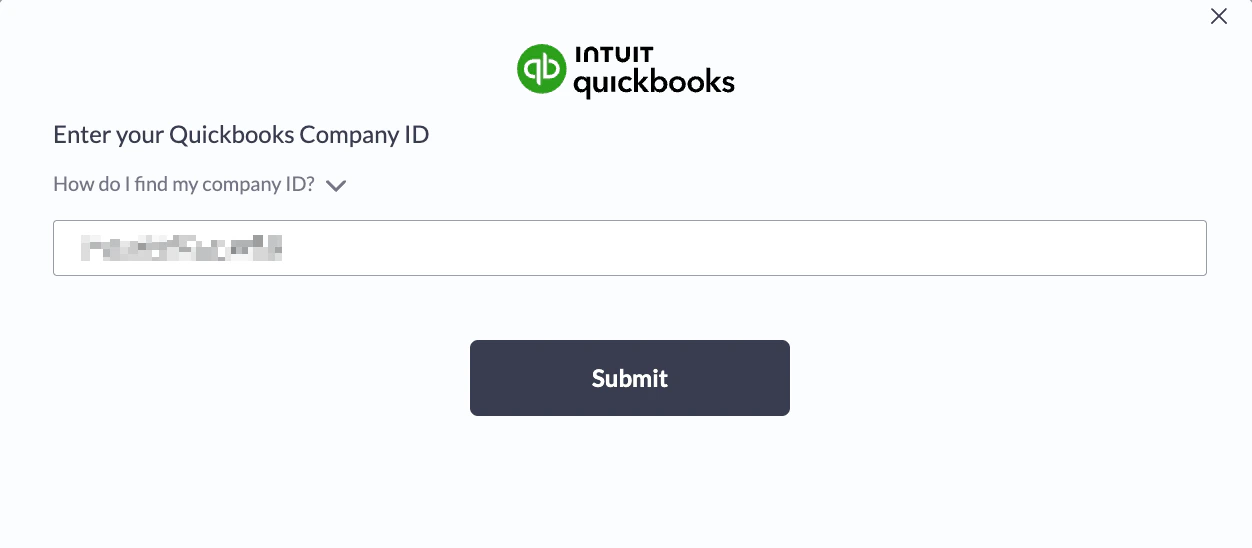
After authentication, aidnn asks for one final piece: your QuickBooks Company ID. Here’s how to find it.Step 1 - Open the gear menu in QuickBooks
Log in to your QuickBooks account in a separate tab. In the top-right corner, click the gear icon to open the settings menu.Step 2 - Open Additional Info
In the gear menu, click Subscriptions and billing.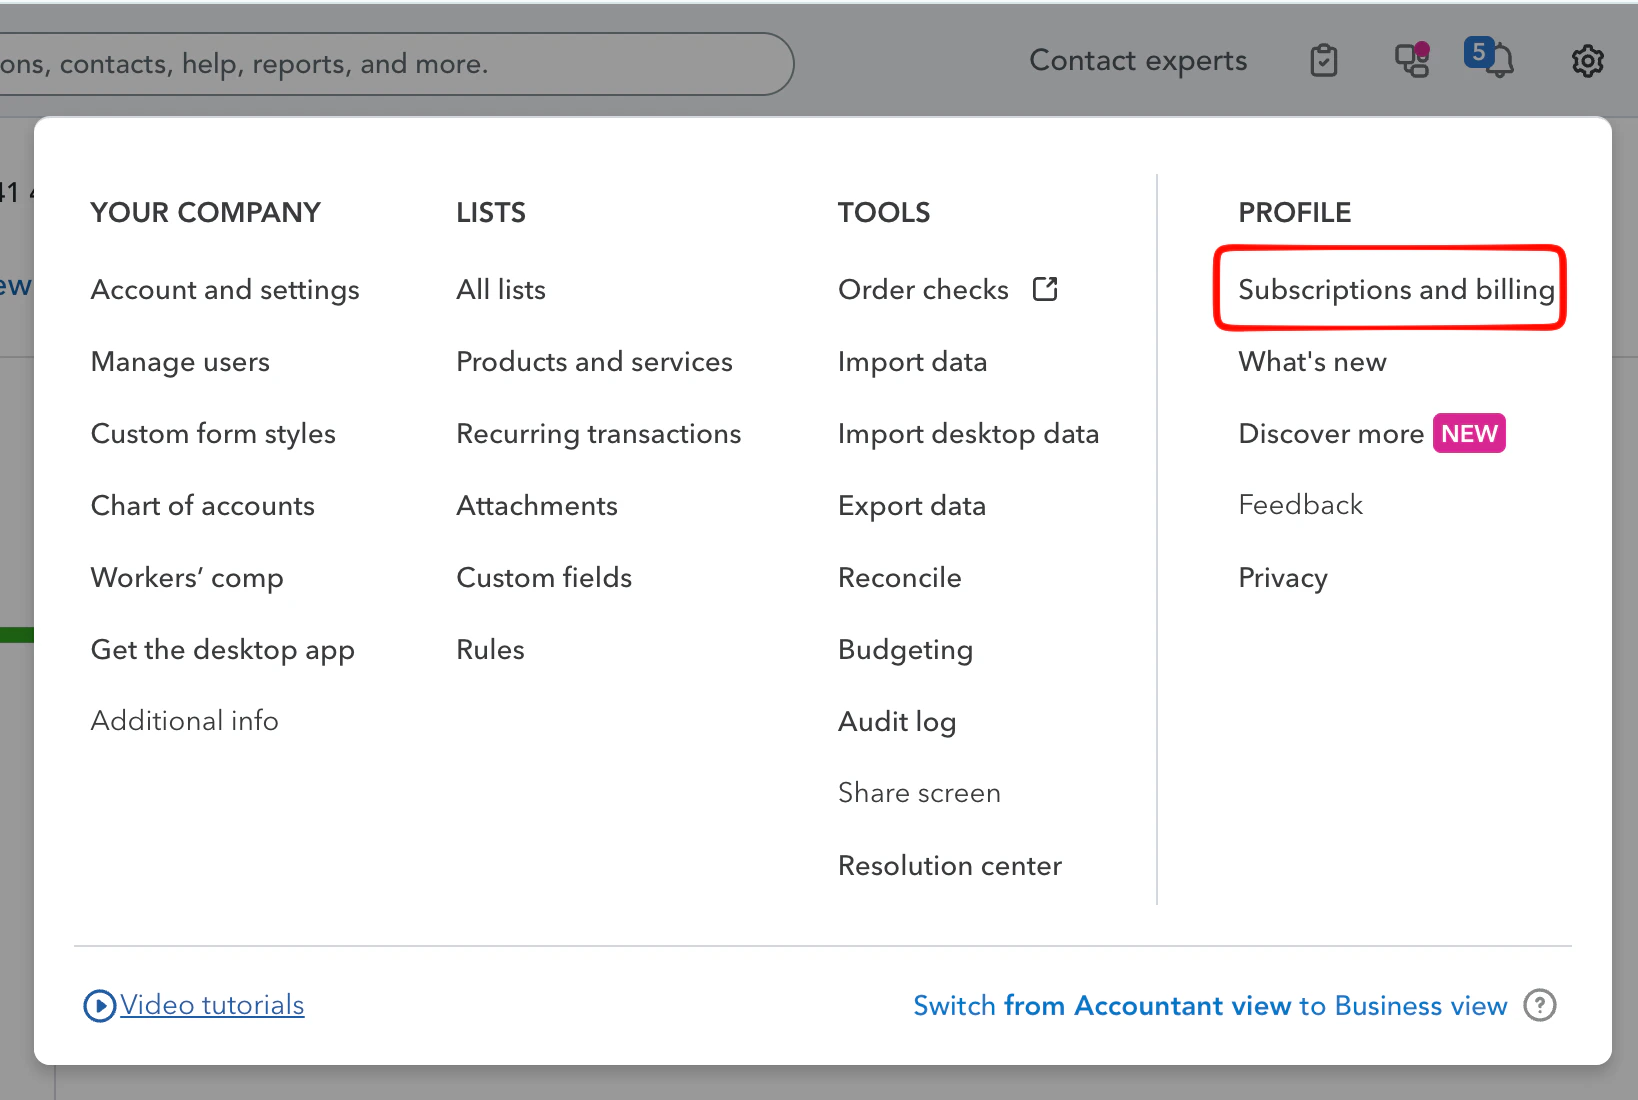
Step 3 - Copy the Company ID
A modal opens showing your account details, including the Company ID. Copy that value.
Step 4 - Paste it into aidnn
Switch back to the aidnn tab, paste the Company ID into the prompt and click Submit.